Once you have decided to decorate your home interiors, painting is one of the important works to be completed while decorating your home. For painting your interiors, you need to plan and know which area to start with and which to complete last. Without planning, you would be painting only one area the whole day. Your house painting project can be a relatively easy, inexpensive, and fun-filled activity when you know where to start and how to end the process. For any veteran or budding DIYs, painting their rooms is an interesting project to be completed in their free time. If you are a homeowner looking to decorate your interiors, read on to learn the basic interior painting sequence to transform your home.
The painting process is easy if you follow the necessary steps, and before even starting the painting process, you need to prepare the surfaces. Here are some important steps you need to complete before painting
As you prepare to paint all the interiors, all the furniture must be moved to a safe place where there is no chance of paint stains. After moving the furniture, all the hardware of doors, such as door knobs, electrical outlets, and window handles, must be removed. If there is no chance to remove the hardware, then cover them with a cloth to ensure they are safe from paint stains.
After removing the furniture, it is time to protect the immovable properties of your house. A professional painter protects the floor by using a drop cloth, and the furniture is covered with plastic covers. If you are working in a room, then make sure to close the door and all cabinets.
Once carefully, observe any patches on walls or ceilings that need to be covered with necessary patching materials. If necessary, caulking can be used to fill up the gaps and always ensure the surface has a smooth finish. Once the caulking or patching is completed, allow the surface to dry before painting to avoid cracking.
To have the paint adhere properly to the surface, the surface should be cleaned without dirt. Depending on the type of stain, you could use the cleaning agents like soapy water or other chemical solvents. If mildew is present, it can be removed using a solution made from 3 parts of water and 1 part of bleach.
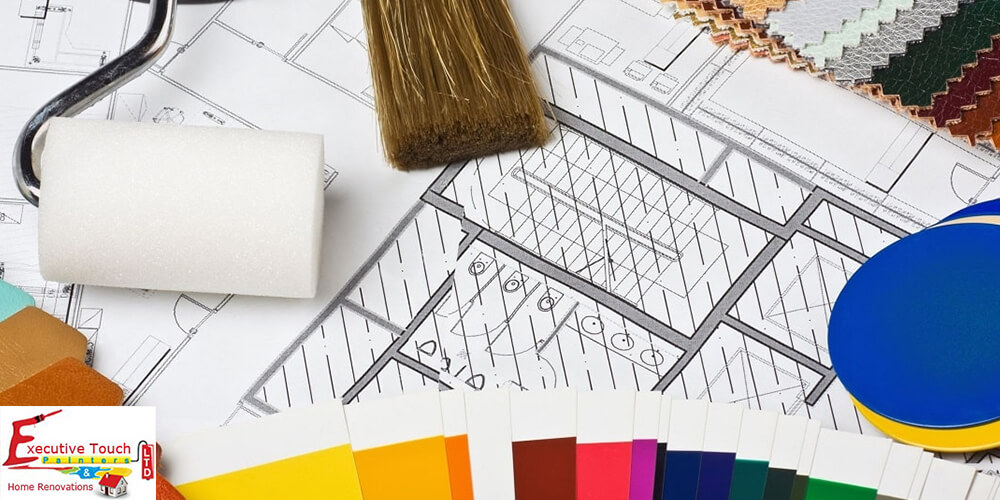
Before starting with the painting process, it is time to select the colours for your interiors. Always remember that you should be open to more than one colour. You can choose from many options and pick the perfect one for your interiors. When deciding on colours, think about how your room should feel, warm or cold and calm or bright or playful. The colour scheme of your interior impacts your mood, and try to set colours that blend well with your interior curtains and other decoration items. If you are in a dilemma about choosing the perfect colour combination, then our experts at Executive Touch Painters are always there to help you.
Once everything is ready, it is time to prepare all the tools needed for the painting process. Here are some tools that are to be used
For any house, paintable areas can be divided into the ceiling, trims, doors, window frames, baseboards, and walls. While starting the painting, you need to follow the below home interior painting sequence.
The ceiling is the first part of your home that needs to be painted; this is also the area in which you have the least control. While painting, there is a chance that the paint will fall on the floor or walls, and for those, you need to cover the place with drop cloths. As for walls, you can paint them afterwards, so there is no need for protection. Always ensure you paint evenly, keep the brush wet, and avoid working with a dry brush.
Once you finish the ceiling, it is time to paint the trims and cut-ins. Painting trims can be tricky but should be completed before the walls as you can handle getting the paint onto the walls. Once the trims are completed, time for painting the cut-ins takes time and patience. You must use painter’s tape and the right brush to paint the trims.
Doors are to be painted next, as cutting the walls around them is easier. Painting the doors is not easy as there is a lot of skill involved, and it takes a lot of time for beginners.
After completing the doors, it is time to paint the baseboards. For a skilled painter, painting baseboards is a one-handed job, but as a beginner, you need to start from one corner and finish with another corner. Before even starting to paint the baseboards, you have to clean the surface once to remove any dirt present and use masking tape to cover the area that is not painted. After completing the painting, remove the masking tape as soon as the paint is dry.
After all the places of your room or house are completed, it is time to paint the walls. Painting walls is the easiest step, and people find it fun to paint walls. To paint a wall, you can use spray or brush, but the simple way is to use a roller. While painting the walls, make sure that paint is applied evenly to have a beautiful finish to your interiors.
When painting your interiors, the above interior painting sequence can be very helpful in completing your project most effectively. The sequence has been formulated by skilled painters with hands-on experience painting any house’s interior. However, with proper experience and guidance, your interior painting project can lead to better finishes and good use of money and time. Contact an interior painting expert if you are a homeowner looking to paint your interiors. We have over 30 years of experience handling all painting projects at Executive Touch Painters. Contact us today for a free quote.