Back in the ’60s and ’70s, popcorn ceilings were in the trend. It was simple and quick to cover up imperfections in ceilings by adding texture. No subsequent painting was needed. If the Popcorn ceiling is in bad condition, the difficult process of removing popcorn texture from a ceiling is worthwhile. Replacing these worn-out, rough surfaces will make your home cleaner, increase its value, and enhance the air quality. But first, you must ensure the job is done before you can enjoy these advantages. A good popcorn ceiling removal project begins with careful planning, just like any other home improvement. Here are some tips for preparing a room from popcorn ceiling removal.
When you decide to get rid of your popcorn ceiling, you must first do your research and confirm that the ceiling is asbestos-free. Older popcorn ceilings built before 1980 may contain asbestos which may scatter into the air during removal and cause a major health risk. To be safe, get your ceiling examined by a professional who has received EPA certification to prevent the release and spread of asbestos in your home. Your popcorn ceiling must be removed immediately if it is in bad shape, with all necessary measures.
To finish the project, the rooms with the popcorn ceiling removal will almost be inaccessible. Be prepared that your room cannot be used on the day of ceiling removal, and make necessary arrangements alternatively if that is your home office. Plan a day off or shift your office work to another place. If you require tools and safety protection, you can do it yourself. Still, hiring a professional for popcorn ceiling removal is advised to get the job done.
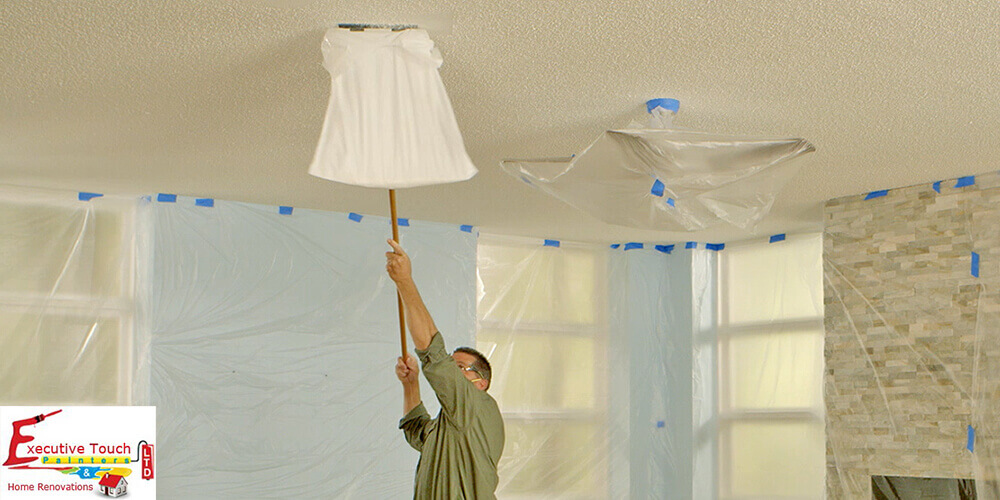
Remove any fixtures by turning off the power to them. Leaving the lighting and ceiling fans in place might seem simpler, but doing so will cause obstructions and wet popcorn scrapings to accumulate on them. In addition, you want to avoid accidentally spraying water on any electrical fixtures. Everything that is hanging on the walls must be removed. This involves the removal of wall hangings, pictures, and artwork and noting down the locations from where they are removed.
Remove the furniture from your room to make space for moving your ladder during work. If the furniture is too heavy and difficult to remove from the room, arrange it like a cluster and cover it with a cloth or a plastic sheet.
While removing your room’s popcorn ceiling, it is important to cover the floor with drop clothes to prevent the waste from falling on it. Make sure that every inch of the floor is covered, especially floors with carpet that attract a lot of dirt and should be covered carefully. So that after the work is done, we can remove the clothes and discard them with the dust they collected.
It is important to have proper ventilation during popcorn ceiling removal to increase the airflow because there will be a lot of dust and debris scattering all over the room, and there may be chances of inhaling the dust. To protect ourselves, we must use the right safety measures like protective gloves, Mask and protective glasses and head coverings etc.,
Popcorn ceiling removal is important if it is in bad shape. We must follow safety measures to avoid inhaling the dust of popcorn ceilings. It is also necessary to prepare the room before the removal to ensure that no dust or debris is lying on the furniture or floor. To get the job done professionally, visit Executive Touch Painters, having 30 years of experience in painting and renovation services in the Toronto area and GTA. Feel free to contact us for a free estimate or call us at (416) 410-0164.