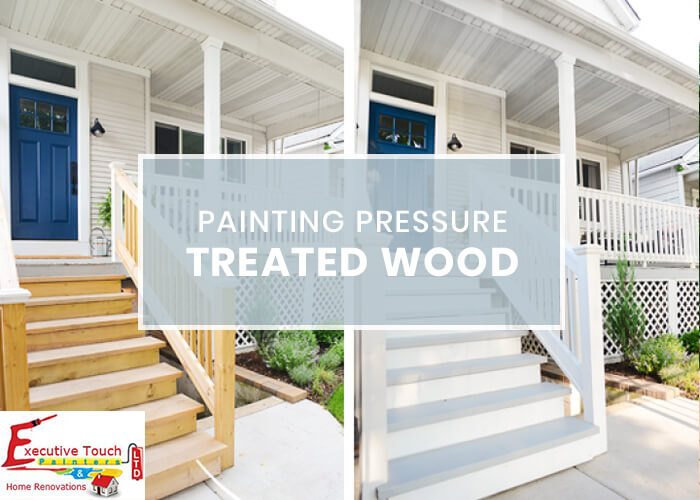
Pressure treated wood is the type of wood that has been treated with chemicals to protect the wood from harsh environmental changes. So, it is resistant to rain, wind, bugs, and mildew and good for outdoors. Pressure treated wood is the best material for fences and it is also comfortable to repair the wooden fences than the fences made of other materials like steel, iron etc.
Yes, It is completely paintable, but the painting job must be done properly, otherwise, your coat of paint will eventually start peeling. Also, More time and a large quantity of paint are needed to complete the work.
For ultimate results, there are some necessary steps to be followed while painting pressure treated wood which is discussed below.
Maybe you think cleaning the pressure treated wood is not necessary, but what if the wood has accumulated dust and debris. So, Clean the surface with soapy water and a brush to scrub off the dirt present on the surface. Scrubbing is to be done in the direction of the grain and wash it with water.
Regular pressure treated lumber dries within few days, but some might take more time depending on the type of chemicals that are used for the treatment. Painting on a wet surface is waste as the paint quickly peels off from the wet surfaces. Sprinkle water on the wood to test if the surface is dry or not. If the water is soaked into the layers of the wood, then the surface is dry. If the water rests on the surface as needed drops, then the surface is not dry, and you have to wait for some more time for the wood to dry.
As per the regular painting projects, here also the primer is applied before the actual painting. The primer takes time to dry than the regular surfaces. Make sure to use a primer that is suitable for the pressure treated wooden surfaces. Remember that for primer or paint, thin coats dry quickly. Pressure treated wood has resistance to liquids, so always follow the instructions on the primer container for a better finish.
After applying the primer, allow it to dry for some time. Luckily, the drying process may not take more than a day or two depending on the type of primer used. Do not go for painting until the primer is thoroughly dried. For the treated wood the time may be little more, allow the primer to dry for a day or two for better results.
The final step in the process. Paint the surface of the pressure treated wood after the primer is thoroughly dried up. Latex paints are the best paints for the wood surfaces. Oil-based paints have a resistance to the surface of the pressure treated wooden surfaces. The proper painting on the surface of the wood will last for few years without damages. If you see any damages, then repaint the surfaces. If you are not in a situation for repainting the surface regularly, then you can go for staining process. Other than paint and stain, a protective sealant can also be used to apply on the surface of the pressure treated lumber.
The pressure treated wood is a special type of material that is to be maintained with more care. As its surface is resistant to elements like dust, heat, and water, the proper application of paint allows it to last for longer times. So, taking the help of a professional is a wise decision to paint treated wood. Executive Touch Painters in Toronto offers expert interior and exterior home painting services since 1989. Contact or Call 416-410-0164 at to Get a Free Painting Estimate Now!